

Have you ever tried to request a large file from someone at another company or even within your own company? If you have someone send a file via email it can get caught in spam or if it’s too large (Office 365 limits file attachments to 150MB), it’s going to get rejected. Another consideration is privacy. You might need to send files with personal or health information.
Solution: Microsoft now allows subscribers to send and request files to companies outside of their own. If you’re worrying about compliance, OneDrive and Sharepoint Online are HIPAA and SOC compliant.
In this tutorial I’m going to show you how to request files using OneDrive, but this can be easily done using Sharepoint Online as well.
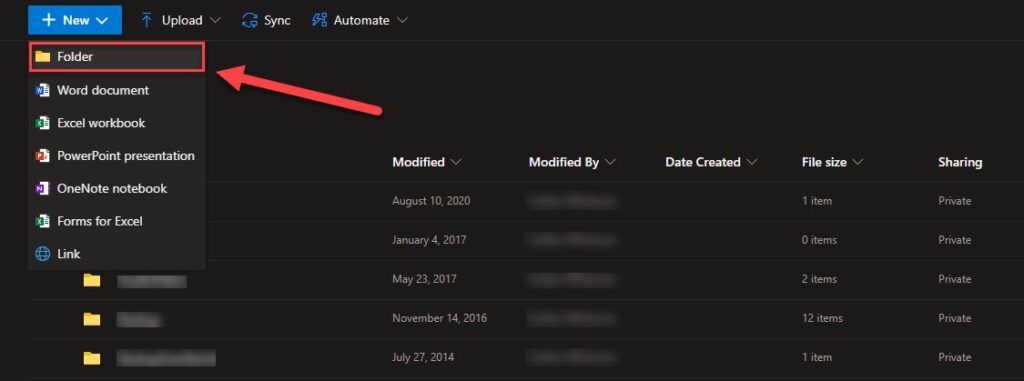
First, we need to create a folder to hold our requested files.
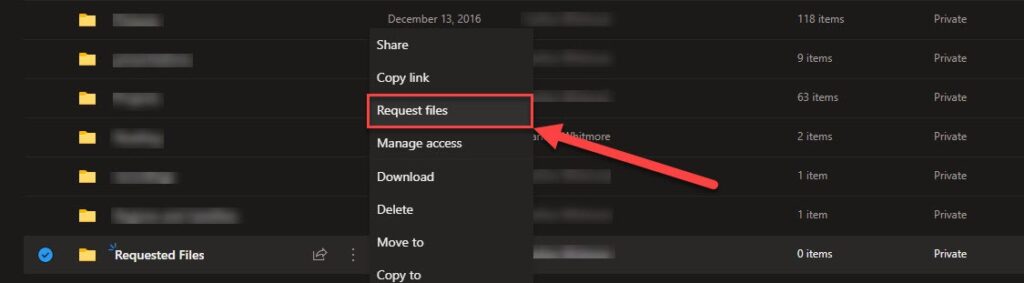
Right mouse click the folder and choose to Request Files
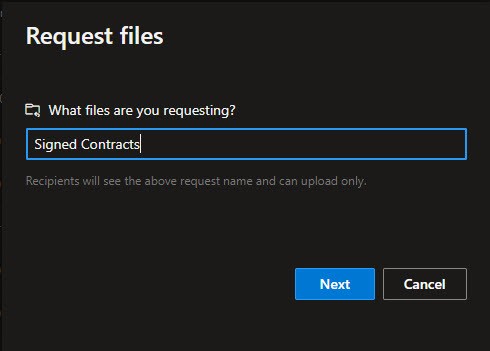
Name your request something relating to the files you are expecting.
When you send a request for files the email message needs to include what file(s) you are requesting then hit Next.
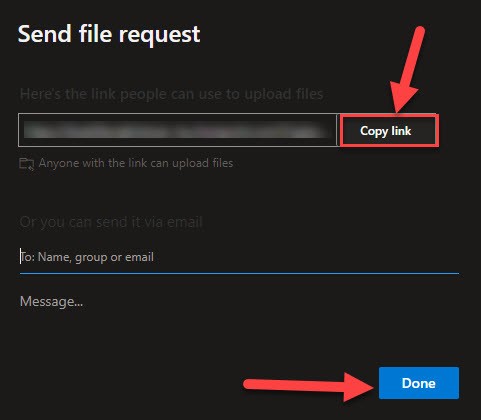
The final step to creating a request is to Copy link and hit DONE. You can also limit who has access to this link by entering their email address in the box provided. I like to copy the link so I can create a custom email message that looks more personable.
You’ve now completed the request process.

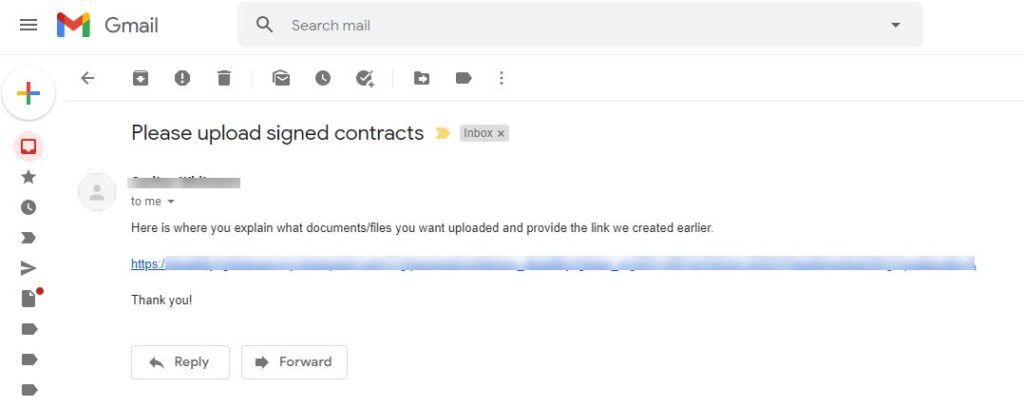
Now let’s test this out by sending an email with the copied URL we grabbed during the request process. You can email multiple people since we chose to copy the URL instead of limiting users in the request.

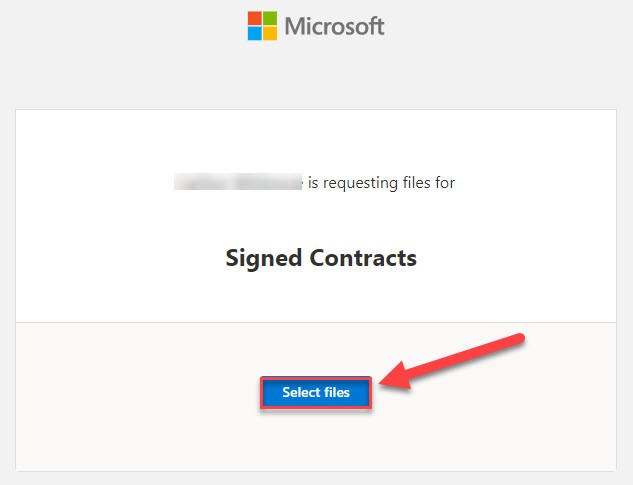
The recipient receives the email and now has access to the link.
Now you can select as many files as you want to upload. The person uploading files cannot view files that in the folder. Not even files they previously uploaded.
Note: (If the request link is opened on a mobile device, it will prompt recipient to either upload or take a new photo with the device camera. For folks with limited computer/scanner access, this can be really helpful.)
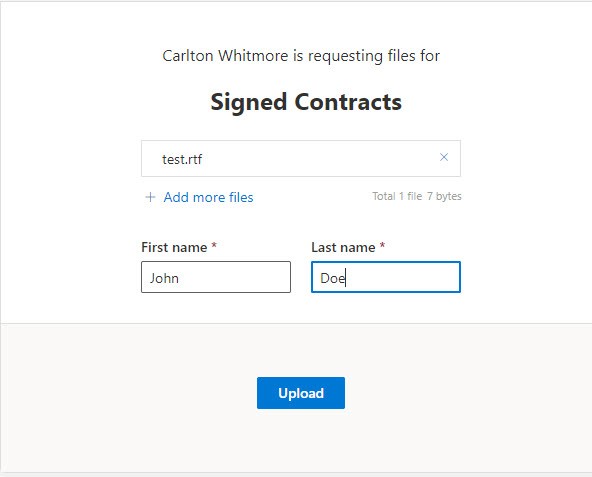
After choosing the files the recipient wants to upload they’ll need to enter something for first and last name unless they were already logged into Office 365. Then hit Upload.
After you hit Upload you can either close this screen or upload more files.
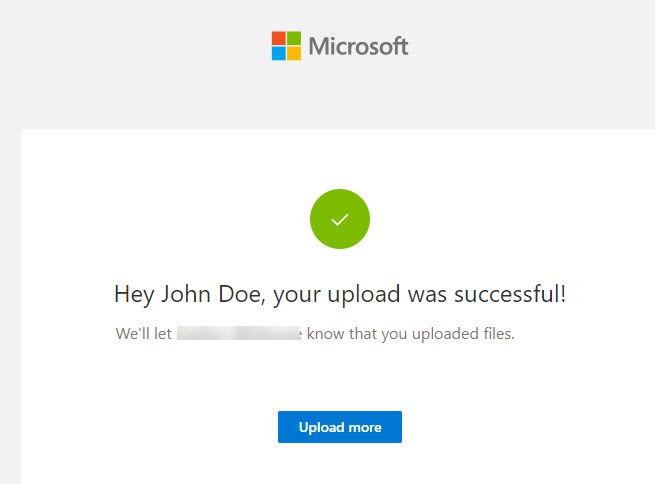

And here we go, your requested file(s) are in the OneDrive folder we setup.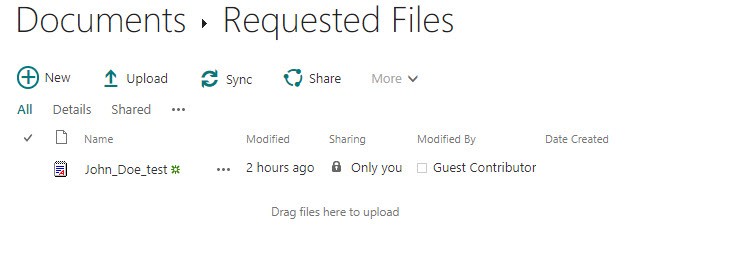
Thank you Susan Vincent for giving me the idea for this blog post. If you have an idea for a blog post or YouTube training related to Office 365 please email me at techhelpfornonprofits@gmail.com. To view our other posts check them out here.